
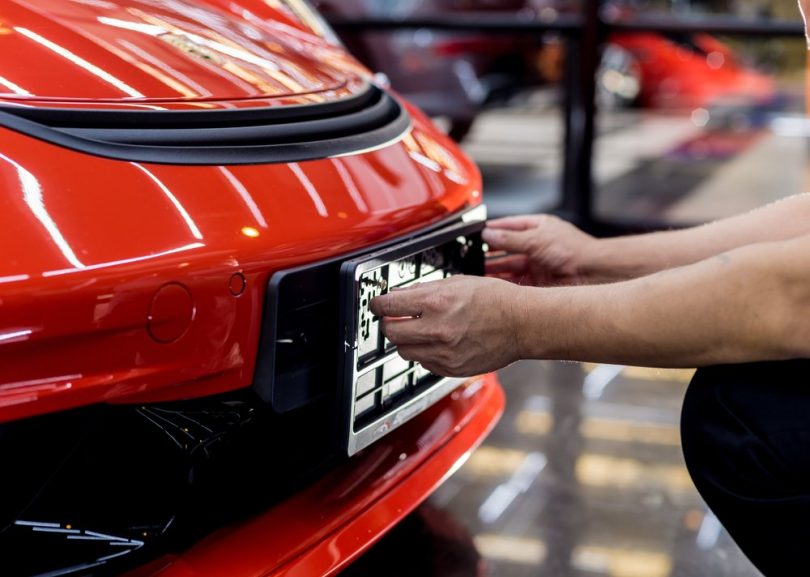
Most states require you to have a light for your license plate. Newer cars have the light and if you drive an older car, you may have to install the light yourself.
Here we will share the symptoms of a broken license plate light and do a step-by-step guide on how to fix license plate wiring.
How to Fix License Plate Light Wiring: Step-by-step
Step 1: Collect your tools and equipment
Tools
- Torch lighter
- Needle nose pliers
- 12-inch rod
- Electrical tape
- Wire cutters
- Flathead screwdriver
- Ratchet
- T40 TOREX bit
Equipment
- Female plugs – 1
- Male plugs – 1
- Female pins – 2
- Male pins – 1
- Orange tab – 1
- Green tab – 1
- LED license plate lights – 2
- Butt connectors – 2
- 10-inch wire – red and black
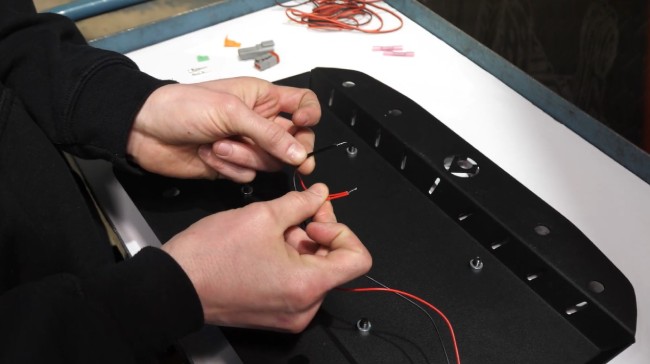
Step 2: Attach wire to male pins and female plug
Twist the two black wires together. Once twisted, take a male pin inserting the wires into the open end. Hold the wires in place, crimp the security wires on the pin around the black wires holding them in place.
Use needlenose pliers to pinch these around the black wires. Take the two red wires and follow the same steps.
Now take a female plug and push the male pin and black wire into a hole at the end of the female plug. Listen for the snap when it locks into place. Then, follow these same steps with the red wire.
Turn the female plug over and use the needlenose pliers to push the green tab into the slot, locking it into place.
Step 3: Attach wire to female pins and male plug
Take the red (power) wire and black (ground) wire, place a female pin on the end of the red wire and squeeze the end of the female pin with the pliers to secure it in place. Using the black wire, repeat these steps.
On the closed end of the male plug, insert the orange tab, snapping it in place. Check to see the rubber grommet is secure on the tab and plug. It keeps the moisture out of the plug.
Be sure to match black wire to black wire as you insert the female pins in the male plug so that when you place the male plug in the female plug, you have black to black and red to red.
Step 4: Take off interior paneling
To remove the panel where the license plate wiring goes, find the nylon cord that runs into the bottom side where you can use your finger to pull out and pull firmly on both sides.
Step 5: Sever wire to license plate light
Take the male end of the plug, pushing it through the hole that goes from inside the tailgate door to the outside.
Next, remove the panel that makes up the floor in the cargo area by popping the strap-down point clips up with a screwdriver.
You will see bolts. Take your T40 TOREX bit to loosen, then remove all the bolts. Once the bolts are out, remove the side strips and pull up the deck.
With the deck up, remove the panel at the base of the strap-down panel. Then put the screwdriver in the hole to pop it off.
Use the screwdriver for popping off the seatbelt cover on the right side as you look into the car. Next, remove the weather molding on the right by pulling firmly with your hands.
Both moldings will be attached to the vehicle near the backseat but will open enough so you can work in that area. Then remove the seatbelt cover and weather molding on the left side using these same steps.
Once the left side weather molding is off, unplug the 12-volt power outlet.
Step 6: Wire from tailgate to factory wires
In the back of the fender well, there is a clip with wires coming down that needs to be loose so you can work on it. Use a screwdriver for popping the clips, the two clips that secure it to the fender well.
Cut off the zip tie after removing the clips to loosen the wire. Cut the zip tie, but do not cut the wiring. Instead, cut the wire at the top of the clip that you loosened.
Remove the rubber plug by the seat belt cover bringing the wire from the fender well through the body into the hole where the rubber plug was removed. Remove the factory tape. Pick up the rubber plug that now looks like a funnel. Using the screwdriver, push it through the wide end with the screwdriver head exiting out the narrower end.
Now, take the wire you fed through the body and feed it through the funnel’s narrow end, pushing it out of the wider end. Next, wrap the electrical tape around the narrow end and the wire where you removed the factory tape after pulling the wire through the plug. Finally, feed the newly taped wire back into the hole and replace the plug.
Step 7: Running the tailgate wiring
You will run the wires from the tailgate to the plug wires through the nylon housing on the cargo door.
Holding the nylon housing in your fingers with the wires pushed back by your fingertips, make a small slit in the nylon hosing. Be careful not to cut the wiring.
Now make a second slit in the nylon housing at the weather molding on the right side near the cargo door hinges.
Use a 12-inch rod and run it through the slit, leaving the wires out at each end. Take the red/black wires and tape them to the rod using electrical tape.
Pull the red/black wires through the housing and out of the other slit. Pull the excess red wire through the housing.
Use electrical tape to close the holes in the housing. Then, zip tie the loose red wire to the inner tailgate. Make sure there is no slack.
Zip tie the wires inside the weather molding and run the wires through the space in the cargo door floor, tucking them under the weather stripping.
Step 8: Using heat shrink to attach butt connectors to the wire
Place white wire with a blue strip (power wire) on the wiring harness for the car
and the red wire into opposite ends of the butt connector overlapping them.
Next, crimp the butt connector in the middle using the pliers. Once crimped, heat the butt connector with the torch lighter, heat shrinking the connectors but don’t burn the wires. Then repeat these steps using both black ground wires.
Once the butt connectors are cool, wrap them with electrical tape taping up the wires about 3 inches.
Step 9: Once plugged in, test them
Test the license plate light once you plug everything in to ensure it works. Once the light works, you can put the cargo area back together and re-attach all the panels.
How to Know if Your License Plate Light Is Out
-
The lights are not turning on
When the light doesn’t come on at all, one of three things is going on. The light bulb is burnt out, you have a loose connection, or the relay switch is bad. If your state law requires you have the light, you need to get this fixed ASAP.
-
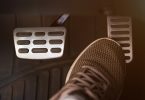
Flickering lights
The license plate light activates when you start the car. Flickering indicates there is something wrong with the wiring or the bulbs.
-
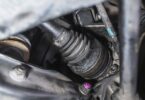
Lights appear foggy
There is probably moisture in the bulb cover when the plate light is on, but you look at them through a foggy haze. This moisture can short out the system, so you need to find the source and fix the issue.
That sums up all the things you need to know about fixing your license plate light warning. Hopefully, this guide will prove to be useful to people who are looking to fix this issue themselves. Feel free to share your thoughts and opinion in the comment section below. Thanks for reading this far. Happy driving to you.


Leave a Comment