
Before you look for solutions on how to stop a tire from leaking around the rim, you need to know what causes this issue in the first place.
Follow our detailed guide and get it done like a pro!
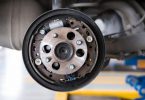
What Causes a Tire to Leak Around the Rim?
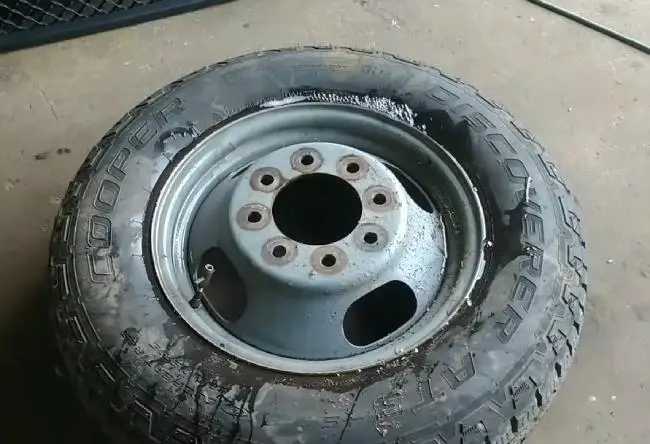
**Photo Courtesy: YouTube
Are you wondering why your tire is flat even though there is no puncture around the tread?
Did you check around the rim? You better take a look because this might be the reason behind the constant low air pressure.
1. Corrosion on the rim
When there is rust between the rim and the tire, there may be leaks for the air to pass out.
a) Worn out clear coat
This is a serious issue. There is an ongoing friction between the tire and the rim when your car is moving, which eventually peels off the clear coat.
As a result, the metal is directly exposed to air and water. Sooner or later this leads to corrosion that causes pitted tires.
Besides, when your tires make contact with road salt in winter, things get worse!
b) Braking pad contaminating the rim
When the braking pad and the disk have friction, this slowly wears out the pad (iron) and those worn out parts get stuck on the rim .
If you do not remove those iron layers off the rim, your tires will soon be pitted.
c) Use of cleansers
Perhaps you use acid-based cleansers to clean your wheels. These chemicals may erase the clear coat gradually that may result in corrosion.
2. Corrosion on the bead seat
Harsh elements may end up in between the tire and the rim near the bead section. They cause leaks through which water and salts from the road can enter.
Remember that if the bead is not installed properly during tire mounting then avoiding leak will be tough.
3. Weather effect
Are you living in a snowy area? I hope you have Tire Pressure Monitoring systems (TPMS) installed in your car. This feature has been there since 2007 that warns you of any low pressure tire.
When the environment gets cooler your tire pressure decreases. In fact, there is a 1 pound per square inch pressure drop for every 10-degree F drop in the temperature.
4. Damaged valve
Check your valves to see whether they are installed right since they can corrode too. You’ve to look into them carefully to find out if there is any rust.
How Do You Find Out Whether Your Rim Is Leaking or Not?
The process is simple. You need soapy water to see if there are any leaks around the valve, bead seat, or rim.
Step 1: Spray soapy water around the tire
Step 2: Look for bubbles – that’s where your tire is leaking
Check your valve and bead the same way to see if there is any bubble.
How to Stop a Tire From Leaking Around the Rim?
Step 1: Remove the valve stem
Take out the valve stem with a valve stem remover.
You only have to unscrew them. There are certain types of removers choose one accordingly.
Now deflate your tire. Make sure you don’t lose the valve cap.
Step 2: Remove the tire from the rim
method you choose, make sure you do not harm the bead side or rim.
1) Manually with your hand
Here’s how to do it with your hands –
2) Tire machine
If you have one then dismounting will be easier for you. Here’s how to dismount and mount your tire back –
Step 3: Clean the rim thoroughly
Look for corrosion and dirt in the rim, the bead area, and the side wall.
Use sandpaper (150 grit ) to get rid of the rust. If you have an air tool that’s better but sandpaper alone can do the job fine.
Soak the sandpaper in soapy water and clean the corrosion off the affected area.
Step 4: Clean the valve
Again the valve can be faulty or not installed well. If it is faulty or completely ruined, it’s time to replace it.
But if the valve is corroded caused by the wheel then you need to clean the wheel as well. Scrub off the wheel first with a wire brush and then clean the existing valve or install a new one.
Here’s how to go about the process:
Step 5: Bead sealer
Apply the sealer on the rim to prevent leakage and make the tire airtight.
Step 6: Mount the tire
Here’s how to do it manually –
If you want to install the tire and rim together with the help of your tire machine then follow this guide –
Use tire lubricant on the sidewall.
Now, put the tire at a tilted angle around the rim.
Keep your knees on the lower part of the tire and hold the upper part with your hand.
Step 7: Inflate the tire
Apply the bead sealer on the sidewall and let it dry.
Now that you’ve reinstalled your rim and tire together, you are ready to inflate your tire.
Step 8: Use soap water again and check for leaks
If there is no bubble then your rim is leak-free.
Step 9: Reinstall your tire
Your wheel is now ready to hit the road again!
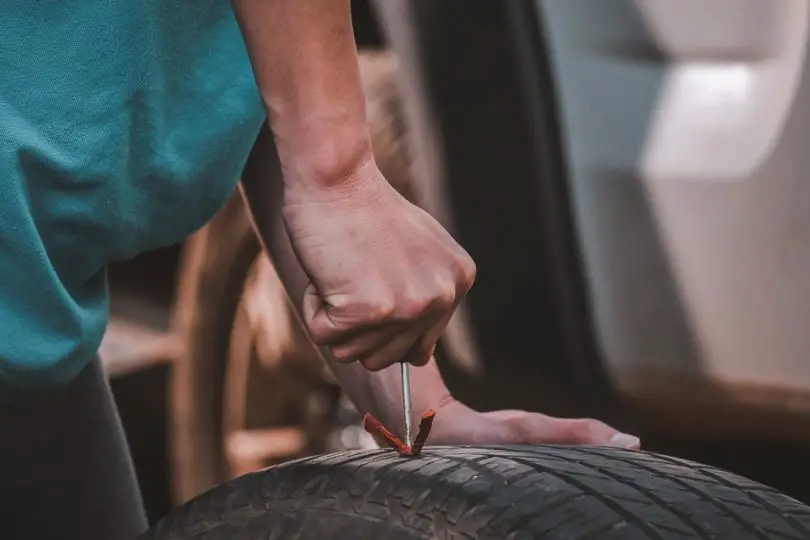
How to Stop a Tire Leak With a Tire Plug Kit?
Tools needed
- Tire plug kit
- Side cutter
- Razor blade
Step 1: Find out where the puncture is located and remove the nail or object with a side cutter.
Step 2: Take a reamer and make a hole for the plug. This step requires effort – it won’t be easy.
Step 3: Prepare the plug and the needle. Take one plug and put it inside the needle. Drag the plug so it’s in the middle.
Step 4: Now put rubber cement on the plug.
Step 5: Insert the needle into the hole and place the plug there
Step 6: Now take a razor blade and chop off the extra plug coming out of the hole.
Step 7: Follow the above mentioned steps to find out if there is any leak
Step 8: Inflate the tires and re-install them in the car
Why the tire pressure monitoring system (TPMS) is important
Such a modern system can help prevent any accidents that may occur because of the low air pressure in tires.
There are sensors attached to the wheel that measure air pressures. If they drop by 25% then the computer system of the car triggers the dashboard’s indicator light.
FAQs
1. Does a tire sealant help with rim leak?
Ans. Yes it works but there are some limitations. If your rim or bead area is damaged this solution won’t work. Again, you should clean the rim thoroughly before you apply the sealant for lasting results.
2. How long does a bead sealer take to dry?
Ans. You do not need to dry the tire. Just inflate the tire right after applying the sealer.
3. Can I drive on a slow tire leak?
Ans. Not recommended. First repair the leak because driving this way may cause a flat tire any time which can be fatal.
4. Will slime seal beads leak?
Ans. They will but only temporarily. In fact, water washes away the slime. Every time you clean your wheels or during the rainy season your slime sealing will wash away and you’ll have to seal the tire back.
5. How much to repair a rim leak?
Ans. The cost will depend on the condition of your tires and can set you back from $20 to $400.


Leave a Comment