
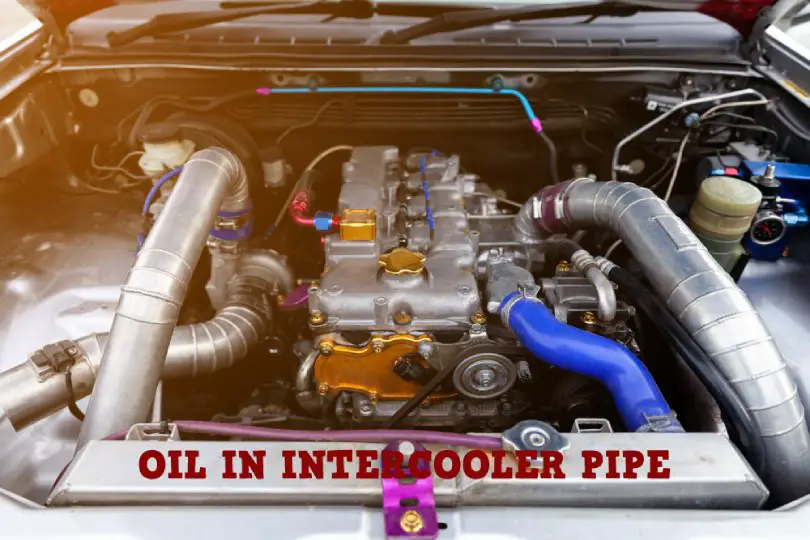
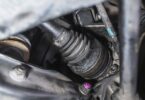
Your intercooler pipe cools the air circulating in the pipe to improve your combustion. When there is oil in the pipe, there is a problem somewhere that needs your attention.
Here we will learn the causes of oil in the intercooler, offer three step-by-step solutions to this problem and share some tips for cleaning the oil out of the intercooler pipe.
Causes of Oil in the Intercooler Pipe
- Air filter clogs
A clogged filter can result in the compressor seal allowing oil to pass.
- Oil return pipe is trapped or twisted
When there is a partial blockage, twisting, or kinking of the oil return pipe, the bearing house will build pressure from the oil, and leaking will occur from the compressor and turbine ends.
- Fixed turbocharger incorrectly
A turbocharger that is installed incorrectly can become damaged as it becomes clogged.
- Turbo damage
A damaged turbo can increase pressure caused by oil and debris blowing in the intercooler from the damaged turbo.
- Oil pressure is too high
Abnormally high oil pressure cuts off the oxygen and can strain the intercooler and lead to a rupture.
- Incorrect gaskets
Using the wrong gaskets and gasket breakdown will lead to large amounts of oil leaking into the intercooler pipe.
- Air filter intake blockage
A blockage in the air filter intake can lead to a reduction in power and acceleration. The car may idle higher and the check engine light will come on.
- Faulty core
A faulty core will reduce the flow and efficiency of the intercooler oxygen.
- Poor engine efficiency
As the engine runs hotter, the engine is not going to run as efficiently as it should, it may feel bogged down and you will not be able to get to the speed you need.
- Using too much fuel
The less efficient the engine runs, the more gas the engine will consume to run better.
- Exhaust smoke
Smoke from the exhaust that is not usually present is a sign of oil in the intercooler pipe – the burning of the oil causes the smoke.
Oil in Intercooler Pipe: Solutions
Method 1: Stronger bash plate: cleaning, testing, and installing
Step 1
Gather tools
- Screwdriver
- Googles
- Gloves
- Bucket
- Container to catch oil
- Degreaser for car parts
- Kerosene – several gallons
Step 2
Remove the bumper using the recommendations in your owner’s manual and a screwdriver. If you need a visual, try this Youtube tutorial –
After removing the bumper, you should have a good view of the intercooler.
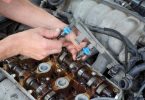
Step 3
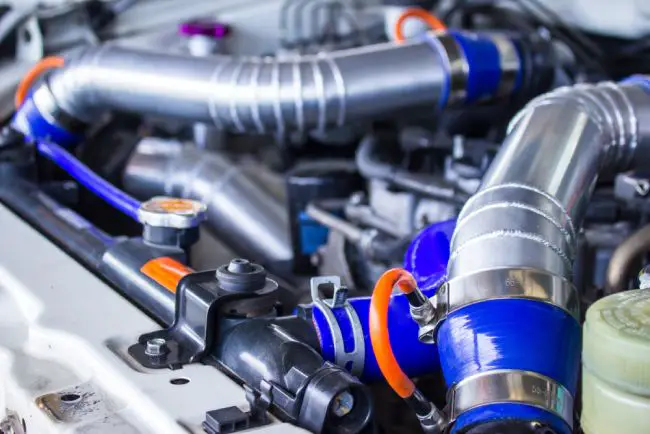
Separate the intercooler and the intercooler pipes. Place a catch basin under the area while separating the pipes to catch the oil.
The intercooler is found between the turbocharger and the engine pipe can be separated and removed using a flathead screwdriver.
Step 4
Wearing goggles and gloves, pour the oil from the intercooler into the container for dirty oil.
Step 5
Place the intercooler in the bucket and spray the degreaser into the two mounting holes, be sure to get it into the hoses too.
Now spray the outer surface of the intercooler with the degreaser. Remember that the more you apply, the more grease and grime will be removed.
Step 6
Standing the intercooler upright wait several minutes as the oil drains from the intercooler.
Step 7
Fill a bucket with kerosene and submerge the intercooler into the bucket for 15 to 20 minutes. Be sure to fill the intercooler with kerosene.
If the intercooler is still dirty, fill a container with clean kerosene and repeat step #7.
Step 8
Once the intercooler is clean, place it on a dry surface while the kerosene evaporates. Reinstall the intercooler once it is completely dried.
Method 2: Ventilating the crankcase using a positive PCV valve
Tools needed
- A new the positive PCV valve
- Wrench set
- Pliers
- Screwdriver set
- Needle nose pliers
Step 1
To find the PCV valve look past the valve cover on the engine and locate the hose going from the throttle body to the intake valve to the PCV valve.
Step 2
Separate the valve from the valve cover using your hand to pull off the hose. You may need to remove the hose first and then unscrew the PCV valve if it’s threaded into the valve cover.
Step 3
Compare the replacement and removed valves to ensure you have the exact same valve. Shake the replacement valve to hear the check-ball; ensure it moves.
Step 4
Depending on how you removed the valve, you will retrace your steps. So, you will thread the new valve into the valve cover and install the hose, or you will put the hose on the valve first, then put the valve in the valve cover.
Method 3: Catch can installation
Tools needed
- Catch can kit (everything you need will come in the kit)
- Screwdriver
- Pliers
Step 1
Locate the driver-side inter guard with the two captive nuts. Place the drain tube on the catch can, route the tubing where you want it, next attach the catch can to the mounting bracket.
Step 2
After bolting the catch can to the mounting bracket. Bolt the bracket to the inter guard on the driver’s side.
Step 3
While bolting the bracket to the inter guard (engine bay) on the car’s driver side. Do not bolt it too tight.
You may need to adjust it when you position the output/inlet hose.
Step 4
As you lay out the hoses, make sure to keep them away from moving parts and anything that can get hot enough to melt a hose.
Once you know where the hoses will go, loosely attach the hose clamps, then run the hoses to the catch can and tighten the clamps in place.
The manufacturer recommends that the catch can be emptied at least once a month.
Quick tips for cleaning intercooler pipes
- A well-ventilated space is best to clean the intercooler. Your chances of inhaling toxic fumes will be less.
- Check your owner’s manual for your car’s intercooler specifications.
- Spray the degreaser generously, so you get all the gunk and debris.
- Use a throw-away container for the oil and gunk you drain from the intercooler.
- Fill the intercooler with kerosene while standing in the soaking bucket for a deep clean of the intercooler.
- Continue doing kerosene soaks until the kerosene coming off the intercooler is clear.
- After putting your car back together, check to see if you have put all the bolts back in place.


Leave a Comment