
WeatherTech floor mats have become very popular in the last few years. The mats are custom-made for your vehicle and catch everything from dirt to spilled drinks. Removing them isn’t as intimidating as it looks.
Here we will show you how to remove WeatherTech floormats with their three different fasteners and the best way to clean them with some maintenance tips.
WeatherTech system – A quick look
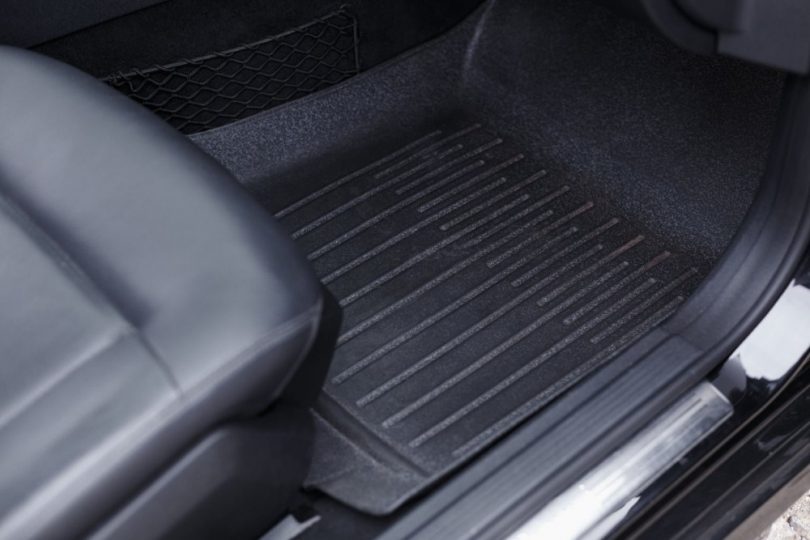
WeatherTech Thermoplastic Elastomer mats are eco-friendly and 100% recyclable. Made specifically for your vehicle with high sidewalls and a front footwell area, they are thick and easy to clean.
While everyone is happy with their mats, their tech support gets many calls on how to unhook them for cleaning.
How you unclip the mat depends on the type of fastener you have. Below you will find the removal technique for twist locks, clip hooks, and button clips.
How to Remove Weathertech Floor Mats?
Each fastener has a distinct removal process. The process is similar for all three, with a different way to unhook the clip before removing it from the vehicle.
-
Twist-locks
Step 1: Put one hand under the mat, palm side down, with your fingers holding the lock in place. Your second hand should grasp the floor mat from the door side.
Step 2: Unlock the WeatherTech mat by rotating the twist-lock.
Step 3: Once it is unlocked, lift the floor mat upward and pull it out of the vehicle.
-
Hook clips
Step 1: Near the seat on the sidewall, you’ll find the hook clip. Remove using one hand on the side of the mat with the other near the hook in front of the seat
Step 2: Pull the floor mat with the hand closest to the seat forward and up off the hook.
Step 3: Lift the mat up, moving it to the door to remove it.
-
Button clips
Step 1: Slide one had under the mat, palm down with your fingers holding the base of the button clip.
Step 2: Use your other hand to lift the mat. Pull the floor mat up when you hear the mat pop off the clip.
Step 3: Pull the mat out of the car once the WeatherTech mat is up.
Floor Mat Cleaning 101
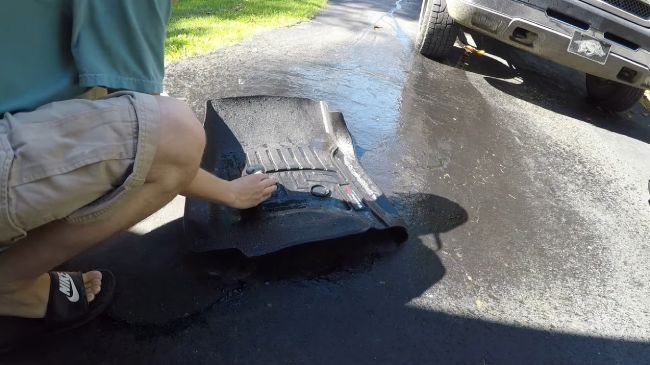
Weahtertec recommends cleaning the floor mats several times a year. You should use a hose on the highest setting or a power washer to remove stubborn dirt.
If you can’t use a hose, you can use a bucket of water to rinse them after scrubbing them clean. You can also take them to a car wash and clean them with a pressure hose.
Some people suggest using spray car cleaner to clean the mats, but cleaners with petroleum can damage the WeatherTech mats. Spic and Span or an all-purpose cleaner work terrific!
Cleaning tools
- Hose or buckets of water
- Scrub brush with plastic or nylon bristles
- Towels or clean rags
- All-purpose cleaner in a spray bottle – No Degreasers!
Step 1: Place your mats in a well-ventilated space. Some cleaners can be noxious.
Step 2: Vacuum the mats to remove any loose dirt. Then rinse off easy-to-remove grime with the hose or bucket of water.
Step 3: Spray the mats with the cleaner or wet them with soapy water and a sponge. Let the mats sit for 10 minutes to loosen the grime.
Step 4: Use the scrub brush to remove stubborn dirt. Be sure to get the mat sidewalls, front wall, and any crevices. Scrub firmly to remove dirt but do not scratch the mats.
Step 5: Rinse the Weatertec mats with clean water to speed up the drying process by drying them with a towel.
Step 6: Once they are dry, they are ready to be put back in the vehicle and reclipped into place or restored to like-new
Like-new mat restoration
After washing your mats several times, they lose that like-new appearance as they age. WeatherTech makes a protective kit for their mats, but you can also use a floormat protectant spray.
Do not use tire protectant! The tire protectant dries to a slick finish. Your feet will slip on the mats, especially in wet weather, and you can get injured!
You can apply the protectant using a damp sponge or spray it onto clean mats. Once you have applied it, the floormats will need to air dry. Check the protectant container for the recommended drying time.
Tips to keep your WeatherTech mats in top condition
All Wathertec mats will get dull over time but are a few tips that will increase their longevity and keep them looking good.
- Remove the mats weekly and vacuum or sweep off the loose dirt
- Remove anything that will scratch the mats, i.e., salt and gravel, from your footwear before getting in the vehicle
- Deep clean them once a month
- Use a floor mat protector after deep cleaning the mats
- Use a hose on a high-spray setting or a power washer to get all the dirt off the mats
- Never use harsh chemicals or degreasers on your floor mats
- Never use a Tire Protectant on your WeatherTech mats


Leave a Comment