
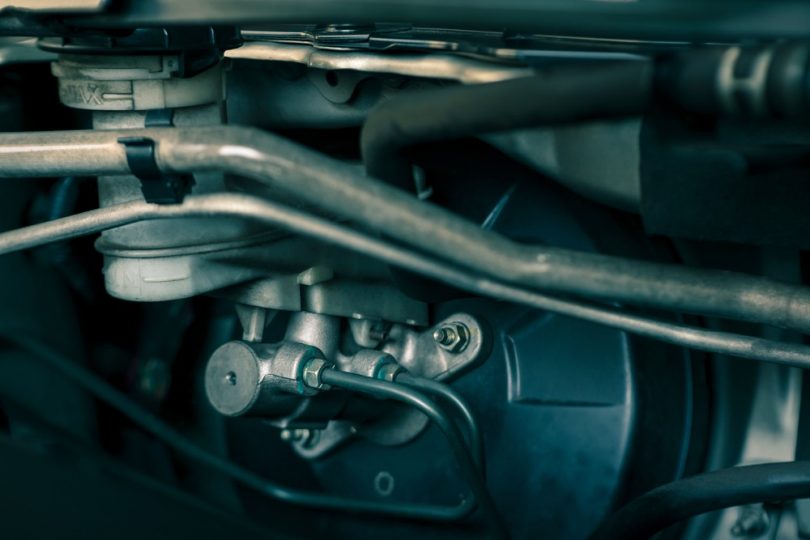
Pistons play an essential role in the brake system of your car. When the brake pads wear down, the pistons move forward to keep the pads snug while you stop. Once the pads need changing, the pistons need to be put back in place.
Here you will learn six techniques that work like charm to push back the brake piston without a tool!
How to Push Back the Brake Piston Without a Tool
Before starting, ensure you jack up the car on flat ground.
Step 1: Gather the tools
- Tire iron
- Vice grips
Step 2: Remove the tire and open the bleeder valve.
Remove the wheel to get to the rotor and calipers. Once the wheel is off, you can open the bleeder valve. If the bleeder valve is stubborn, you can use the vice grips.
Step 3: Remove all brake pads
Once the tire is off, remove both brake pads.
Step 4: Keep the rotor tight by putting on the lug nuts
Replace the lug nuts and tighten them with your fingers to keep the rotor tight.
Step 5: Attach the brake caliper piston
Place the assembly back in place, minus the brake pads. Now, screw the brake caliper piston back on using your fingers to tighten.
Step 6: Use a tire iron on the brake pad slot’s outer side
Using the wedge end of the tire iron, insert the wedge into the hole on the assembly and into the slot on the outside brake pad.
Step 7: Use the tire iron to compress the brake caliper piston
Apply pressure on the tire iron towards the outside. The point is to slightly compress the piston enough to make room for the tire iron on the inner side of the assembly.
Step 8: Unscrew the assembly and remove the brake caliper piston.
You can unscrew the brake caliper screw and pull the assembly down to access the piston.
Step 9: Attach front brake pad and replace caliper
Put the front brake pad into place, replace the caliper and screw it tightly.
Step 10: Use the tire iron between the piston and rotor
Place the wedge end of the tire iron in the space between the piston and the rotor.
Step 11: Using the wedged end, pry it open slowly
Press toward the inner wheel to slowly press (as you did in step# 7) until the piston is compressed fully.
Step 12: Use enough pressure to collapse the brake piston
Be sure to use enough force to compress the piston
Step 13: Unscrewing the brake caliper/ check for flattened brake piston
Once completed, open the assembly to ensure the piston is fully compressed.
Pros of this method
- Technique is quick and easy
- Most people own a tire iron
- This method requires one person only
Cons of this method
- Process may not always work
- Too much pressure can damage the rotor
Methods That Don’t Require Tools to Push Back the Brake Piston
Method 1: Wrench method
Step 1: Gather the tools
- Wrench
- Large bolt and nut
- Drill
- Socket wrench
Step 2: Removing the tire and caliper bolts
With the car securely jacked up on a flat surface. Next, remove the tire to get to the piston. Once the tire is off, remove the caliper bolts and remove the caliper.
Step 3: Drilling through your old brake pads
Using a drill, drill a hole the diameter of the large bolt through the outer brake pad.
Step 4: Using a bolt and nut on the pad
Push the bolt through the hole in the brake pad and place the nut on it before pushing the bolt against the inner brake pad. You will use the bolt and brake pad to push the piston back into place.
Step 5: Tightening the nut and bolt with the wrench
Place the wrench on the nut and tighten it into place. Use the socket wrench to tighten the bolt while holding the wrench on the nut. Continue this until you compress the piston entirely.
Pros of this method
- Efficient way to compress the piston.
- Can be done with tools you have at home
- You can do this alone or with help
Cons of this method
- The piston could be hard to depress at times
- Applying too much pressure will ruin the rotor
Method 2: C-clamp Method
Step 1: Gather the tools
- 6-inch C-clamp
Step 2: C-clamp positioning
Apply the c-clamp to the caliper, so it is pushing against the brake pad
Step 3: Locate a flat side on the caliper
Look for a flat side on the back of the caliper. This will help keep the caliper from moving.
Step 4: Tighten the clamp
Firmly tighten the C-clamp until there is a visible gap between the brake pad and caliper. Then, keep firmly tightening until the piston is in the correct position.
*If the pads show wear, you may have to tighten them more.
Pros of this method
- One of the cheapest, quickest, and proven methods
- You don’t need much pressure to decompress the piston
- You can get 8-inch C-clamps for more flexibility
- Best method if brake pads are worn
Cons of this method
- You can compress the pistons if too far
- Finding a flat spot on the caliper for leverage may be more challenging for some people
Method 3: Use a screwdriver
Step 1: Gather the tools
- Flathead screwdriver
Step 2: Put the screwdriver between the rotor and brake pad.
Once you safely jack up the car, leaving the caliper in place, put the flathead of the screwdriver between the rotor and the brake pad.
Step 3: Apply pressure until the piston is in position.
Leave the brake pad on while applying pressure to the piston with the screwdriver. Fully compress the piston before applying the new brake shoes.
Step 4: Push until you create a gap.
Firmly push the screwdriver until you create a space, then remove the brake pad.
Step 5: Apply the brake pads
Once you compress the piston, replace the brake pad, then use the screwdriver to push the brake pad while pushing on the calipers.
Pros of this method
- Straightforward process
- A one-person job
- Everyone owns a screwdriver
Cons of this method
- The pistons may not always go back into their original position
- Too much force will damage the rotors
How to Push Back the Rear Brake Piston
Step 1: Gather the tools
- Vice grips
- Flathead screwdriver
Step 2: Remove wheel
Safely jack the vehicle removing the lug nuts and wheel. Then, pop the hood and remove the brake fluid container cap so you can check the brake fluid level while tightening the piston.
Step 3: Detaching the brake line
Loosen the brake line and remove it from the caliper to gain access to the caliper. Put the sealing washers and banjo bolt in a safe place. Place a container under the area to catch the draining brake fluid.
Step 4: Remove the caliper
Remove the caliper bolts, then remove the calipers. You can use a screwdriver or pull upward to get them off.
Step 5: Pushing the piston into the housing
Using a flathead screwdriver, place the end in the caliper and rotate the piston clockwise firmly without causing any damage.
Step 6: Continue until the seal is and piston and flush
Continue rotating until the piston and housing are flush. Switch out the brake pads. Reattach the calipers and bolts and replace the wheel and lug nuts.
Step 7: Reattach the brake line
Reconnect the brake line. Check the brake fluid level, adding more if necessary. Recap the container and close the hood.
Pros of this method
- A single-person job
- Easy and fast
- Almost everyone has vice grips and a screwdriver
Cons of this method
- Pistons can be hard to get into the housing
- Using too much pressure can ruin the rotors
The brake caliper doesn’t compress: what now?
- Scheduled car maintenance
Insufficient brake fluid can cause caliper piston problems. Routinely checking and topping off the brake fluid level can prevent this.
- Give the pistons a thorough cleaning
Removing corrosion and debris from the pistons will make compressing them easier.
- Use the rewind tool or specialty vice on the calipers
If you’re looking for a tool to compress the pistons easier, purchase a Brake Pad Piston Compressor made specifically for your vehicle.


Leave a Comment