
With aerodynamics being a huge thing on off-road tracks, you’ll see most trucks having a slight lift on the rear end called “rake”. Although it plays a substantial role in preventing off-balancing as the truck is loaded, it also minimizes the room for the front tires. So where it keeps you safe at moments, it also increases the chances of damaging the front-inner fenders.
To overcome this issue, all you need is just a lift at the front and that should work. The most common tool truckers use to achieve this extra lift is a level kit. Since level kit installation is a bit of a technical task, we have prepared an easy step-by-step guide that will help you to effectively complete the process. All you need is a little experience and the right set of tools!
Leveling Kit Installation- Steps To Follow
1. Gather the necessary tools
Any process without the right set of tools is a hassle. So to prevent a few visits to the shop, make sure to have the following tools on your table before beginning the process:
- 15mm Socket with a matching wrench
- 21mm deep socket
- 18mm deep socket
- 30mm socket
- Breaker bar socket wrench
- 1-1/16-wrench
- Pry bar
- Pitman arm puller
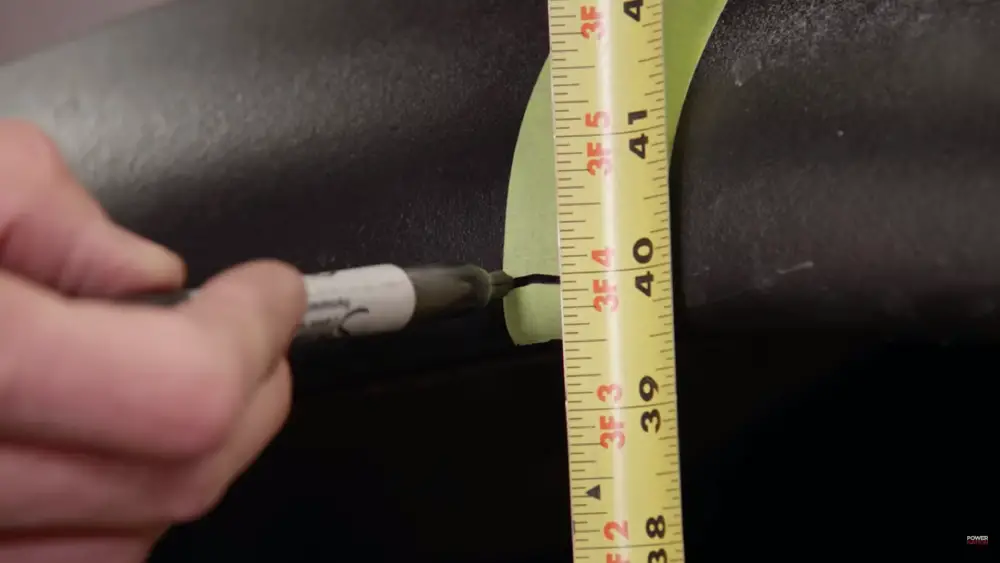
2. Measure the current front ride height
When it comes to leveling, the only thing you don’t want to do is to mess up the height. So make sure that the truck is standing on a smooth surface. After that, measure the relative height of the front fenders from the ground. Commonly, it stands at a 40-inches height. However, it depends upon the model. After taking a careful measurement, mark the relative point. It will help you determine how much extra height the truck gains after level kit installation.
3. Suspend the front wheels
Now to begin the process, you must lift the truck a bit from the ground. Again, confirm that the vehicle is standing on a completely smooth surface and aligns perfectly on the automotive lift. It will prevent off-balancing as the truck lifts from the ground.
The suspension should be to a height where it provides perfect room for you to work- not too high, nor too low. The use of support spindles will also come in handy to protect the vehicle’s ABS and brake lines.
4. Break the outer tie rod and ball joint
After you’ve successfully removed the tire from your truck, the process gets a bit technical. So to simplify it for you, let’s break it down in a step-by-step manner:
a) Release the tie rod
- Loosen the alignment nut of the outer tie road with the help of a wrench, but not too loose that the assembly is disturbed.
- Remove the cotter pin that surrounds the castle nut with the help of a plier.
- Remove the castle nut with the help of a socket. (Use the socket that fits the nut’s size)
- Use a fork puller to lift the assembly. Alternatively, you can also use a rubber mallet for the purpose)
b) Release the ball joint
- Just like the tie road, look for a cotter pin surrounding the castle nut.
- Loosen the nut with the help of a wrench or socket until it’s 3 trunks away from disassembling. A 19mm to 22mm tool is ideal in this regard.
- Align the pry bar and the wedge between the spindle bulkhead and the lower control arm.
- Apply good pressure on the prybar while tapping the lower control arm bulkhead with the help of a hammer. The use of an extra hand will come in handy here.
- After successfully releasing the joint, remove the nut.
5. Remove the strut assembly
Removing the strut assembly is tricky and you need to be calm and patient as you go through the different phases of the project. Carefully follow the steps we are about to tell you:
a) Unbolt the sway bar end-link
First things first, you must unbolt the sway bar link from the control arm. The tool usually used in most truck models is an 18mm socket.
b) Loosen down the upper ball joint
Follow the given steps carefully to loosen down the upper ball joint:
- Pry the joint apart with the help of a pitman arm puller, or simply knock out the ball joint from the spindle with the help of a hammer.
- While using a hammer, you must strike the spindle near the ball joint. However, make sure to land exactly on the target.
- Hitting the joint or control arm will result in damage to the suspension system.

Note: This process can be different for different truck models. Kindly search before proceeding.
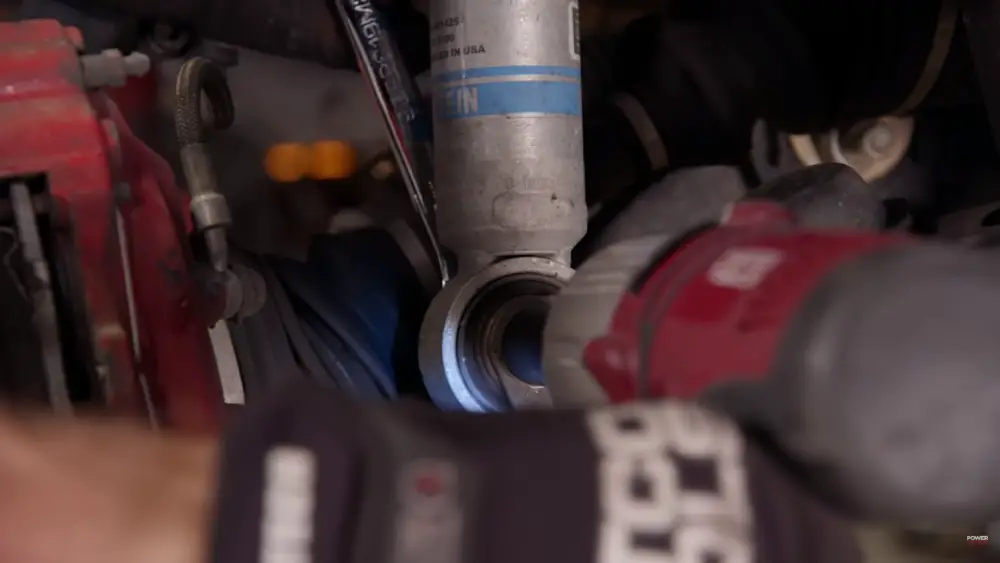
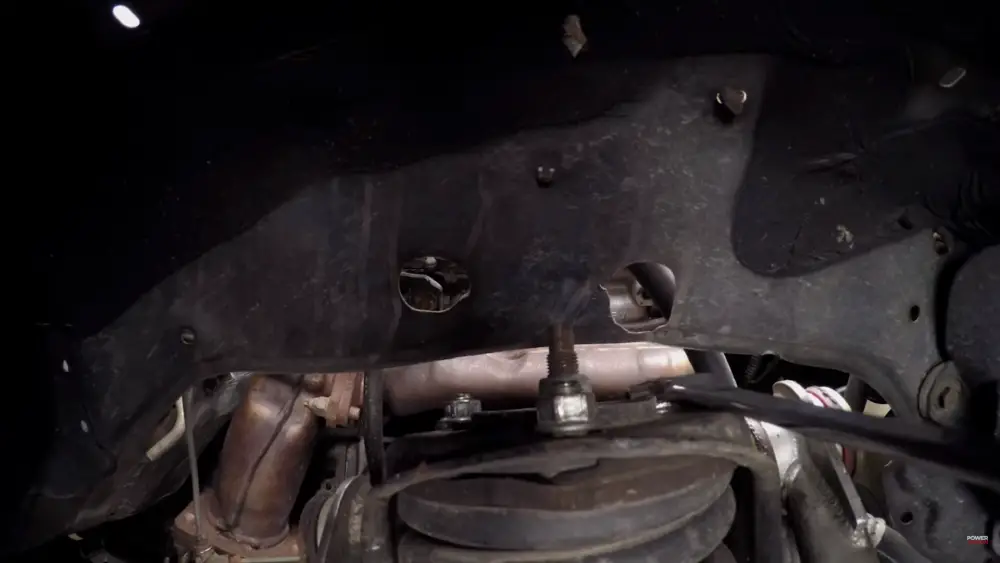
c) Remove the lower strut bolt
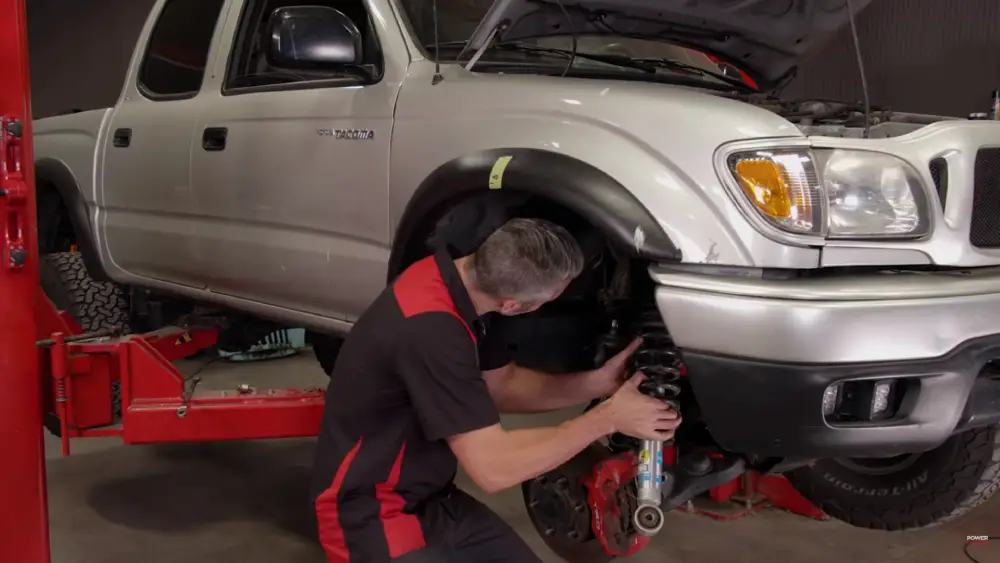
To loosen the lower strut bolt, you will need a 30mm socket and a 1-1/16-inch wrench depending on the truck model. Since the process requires some extra force, you better use an extra hand with the wrench or the boult.
Alternatively, you can use an electric wrench for more convenience. It will save you from a lot of hassle as shown in the image below:
d) Move the wheel spindle
Once you loosen the lower strut bolt, pick up a jack and gently place it under the lower control arm. It will keep it elevated as you remove the upper ball joint nut. Make good use of the pry bar when you move the spindle out of the way. Support the spindle with the help of a ratchet to prevent it from flopping around.
e) Remove the nuts from the top
Last but not least, loosen down or remove the nuts holding the strut top to the bracket. Removing the side nuts before the one at the center is the ideal way to do it. Once you remove them, let the bracket come down slowly, and the strut assembly will follow accordingly.
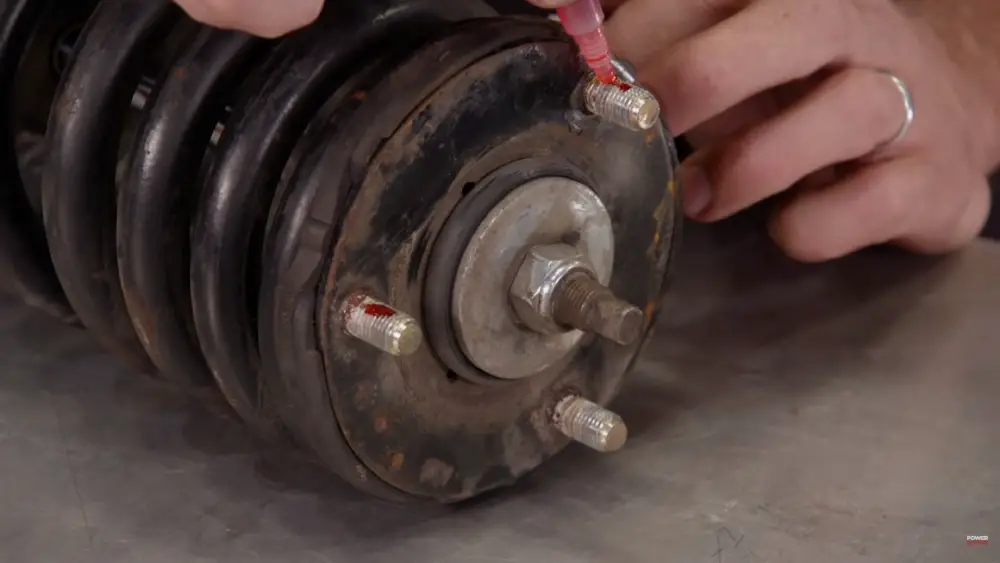
6. Apply gel to the studs
The kit comes with a special gel (thread locker) that ensures a strong and secure connection between the studs and the spacer. So gently apply at least 50% of it to all the pre-existing studs on the strut.
7. Install the Strut spacers
This is divided into two parts:
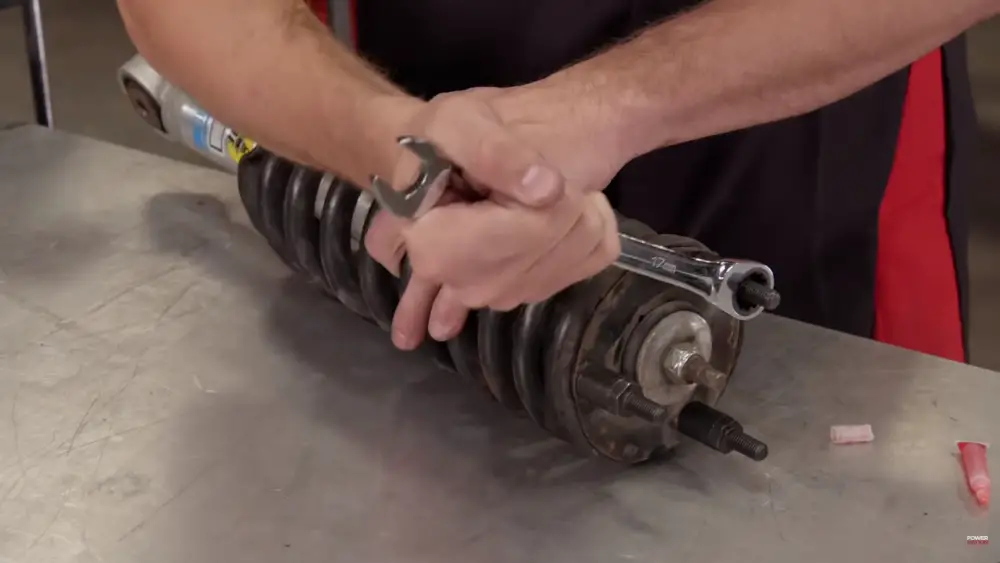
a) Nylock nuts installation
In the Level kit, you will find three more Nylock studs. Install and fix them on the existing ones found in the Strut assembly.
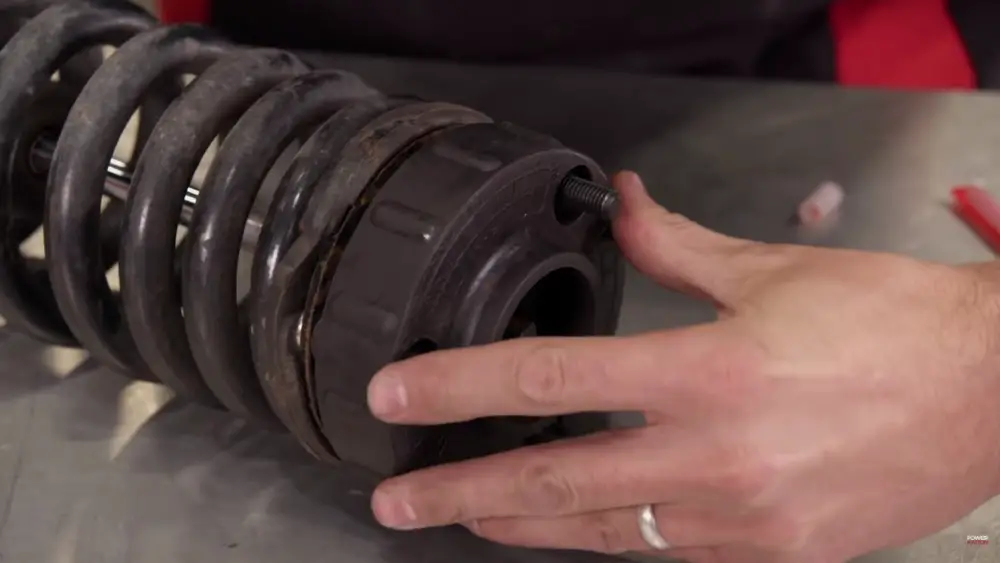
b) Plate installation
Lastly, align the supplied strut space slide with the studs and push it down.
8. Reinstall the strut assembly
Reinstalling the strut assembly is just reversing what we discussed above. Following is the brief break down of the process:
- First things first, install the 1-1/4-12 Adjustment Locking Jam Nut.
- Now reinstall the upper ball joint nut and the outer tie rod nut.
- Reinstall tire/wheel assembly, and make sure to properly torque all the suspension components and lug nuts as per manufacturers’ users’ manual.
- Follow all the above-given instructions for the other side as well!
9. Measure the height
Lower the vehicle and jounce the suspension. Now grab the tape and measure the height of the fender from the ground according to the previous measurement.

10. Adjust the front ride height
You can adjust the height of the vehicle with the help of torsion adjuster bolts situated beneath the car body. (if your truck has a torsion bar system)
11. Don’t forget the wheel alignment
Well, don’t try this at home if you aren’t an expert. And even if you are, some things are best left to professionals. Even a minor mistake can screw up everything.
12. Adjust the headlights
As the vehicle’s front will raise a bit higher from the normal, adjusting headlights becomes inevitable. (unless you are fond of accidents, of course)
13. Adjust the leveling kit as you like it (H3)
Yes, you can do that! However, we would suggest leaving it be. In other words, it mainly depends on your needs. Some like extra suspension, others are cool with the normal height.
FAQs
1. What is the greatest lift a leveling kit can provide?
Ans. It mainly depends on the type of leveling kit you choose for your vehicle. Some leveling kits can provide you a maximum of 2 inches, while others provide a significantly smaller lift. It’s better to keep it relative to the height of the rake.
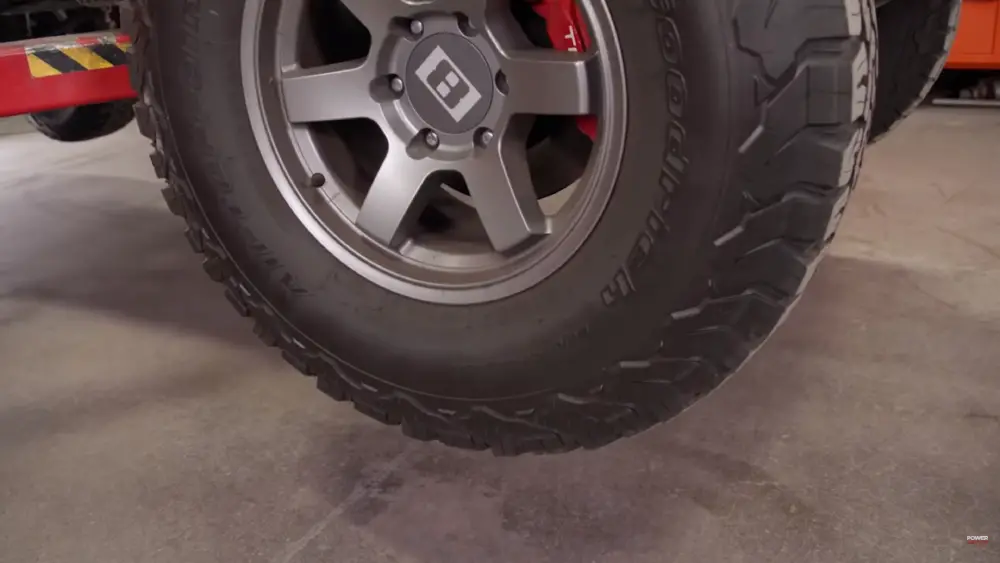
2. What tire size can I fit after installing a leveling kit?
Ans. Given that a leveling kit will provide your truck some extra room, you can easily fit a tire from 31-33. However, anything bigger than that seems like a tight fit, or even no fit when put to practical grounds. It will not only significantly affect the balance of the truck but also damage the fenders.
3. Will my truck need New shocks after leveling kit installation?
Ans. Depends on your use and the age of your shocks. For example, if your shocks already have 20,000 miles on them, you would most definitely like to change them. However, if you are into aggressive off-road driving and dirt and stuff, using new shocks will be ideal regardless of any special condition. This will minimize the probability of any inconvenience.


Leave a Comment