Air in the brake lines is not only dangerous, but it also leads to damage to other engine components.
Knowing the symptoms of air in the brake line can help you save money and keep your passengers safe.
Here we will look at signs of air in the brake line and learn the step-by-step repairs that will keep your brakes in good working order.
Why Do You Need to Get the Air Out of Brake Lines?
Barke line fluid pulls water out of the air (hygroscopic). This extra fluid decreases the fluids’ boiling point, creating steam in the brake line as the brake fluid boils. As a result, the air in the line compresses, and your brakes can feel spongey.
Tainted brake fluid affects steel, iron, and rubber engine components. In addition, damage to hoses, wheel cylinder seals, and caliper piston seals are damaged by the black gunk that can get in the reservoir. All these cause damage and leads to air in the brake lines that needs to be bled out.
If you change your brake lines from the manufacturer’s metal brake lines to newer nylon-coated brake lines or ceramic brake lines, the pressure of fluid build-up needs to be released by bleeding the line.
If your car’s brakes aren’t used, you will have to replace the old brake fluid when the car sits for long periods.
Air in Brake Lines: Symptoms
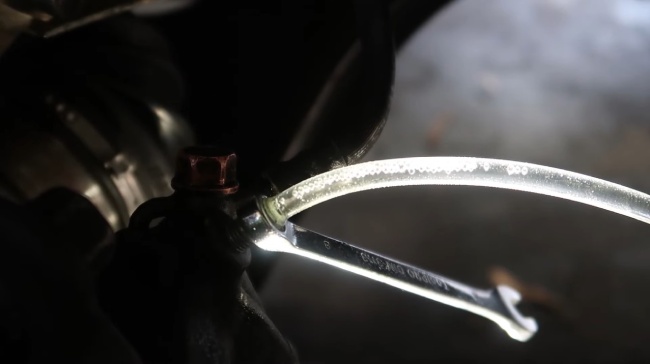
**Photo Courtesy: YouTube
Spongy Brakes
Air trapped in the brake lines presses on the rotors as you break and creates the feeling of a spongy break. This creates a situation where you can’t brake properly.
Brake Pedal Pushed to the Floor
Distance between the brake pad and rotor increases as the air in the brake line increases. You will have to press the brake to the floor to stop; eventually, you won’t have any brakes.
Noise While Applying Brakes
When applying the brake, the air in the line interferes with the rotor connection, and you will hear a screeching noise as you brake and on steeper roads.
Brakes Not Working Well
Any of the above symptoms will lead to the brakes not working as they should. The longer you wait to fix it, the worse it will get!
Soft Brakes
Air in the brake line will interfere with the amount of pressure placed on the rotor, causing the brake to feel soft.
A soft brake means you will have to apply more pressure to get the brake down to the floor and affects how you stop the car.
How to Get Air Out of Brake Lines Without Bleeding
Tools
- Container to hold old brake fluid
- Plastic tubing
- Paper Towels/Clean Cloth
- Rags
- Brake fluid
- Someone to press the brakes while you bleed
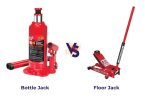
Step 1: Car Needs Jacking Up
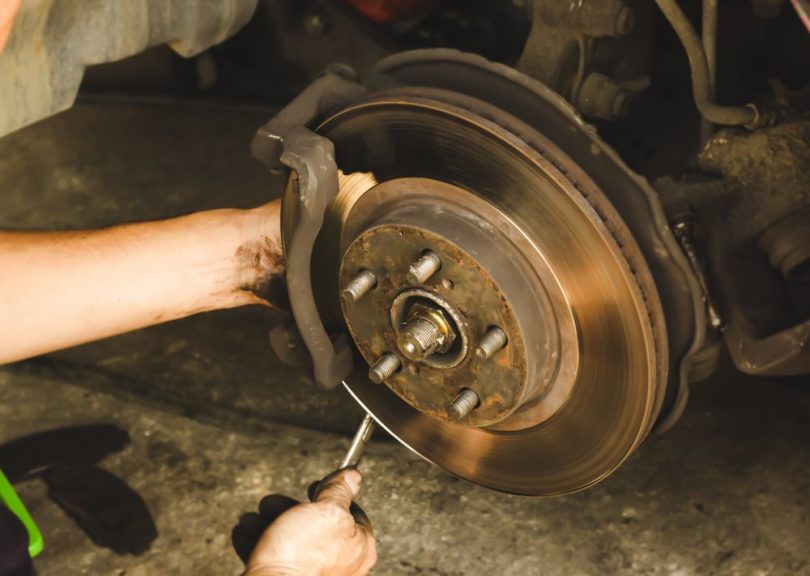
Jack up the car on a stable, flat surface. Remove the affected tire and rim.
You need to remove grease and debris from the brake lines (any left debris can cause air in the line) using a clean cloth and make sure the line is dry. The line can be dried using an air compressor or cloth.
Step 2: Locate the Bleeder Bolts
There is a long cylindrical plug on the end of the brake; this is the bleeder bolt you will use to release pressure from the line.
Step 3: Loosening the Bleeder Bolts/Attaching Tubing
Using a wrench or your hands, loosen the bleeder bolt. Next, place the tubing on the opening for the brake line, attaching it to the bleeder bolt (attach your container for the old brake fluid to the other end of the tubing).
Use your wrench for this and make sure you have enough tubing so you stand at a comfortable distance from the car.
Step 4: Have Someone Apply Brakes
Have someone sit in the car and steadily pump the brake to remove the old fluid and any air from the line, pushing it into the container.
Step 5: Cleaning the Bleeder Bolt
Once the fluid and air leave the line, have your helper hold the brake pedal to the floor while you remove the tubing.
Next, clean the bleeder bolt with a clean cloth and lubricate the end to reconnect the line to the car.
Step 6: Replacing Old Brake Fluid/Adding New
Once the old fluid and air are bled, remove the master cylinder cap. Using a funnel, add brake fluid to the reservoir.
Note: Make sure your helper has pressure on the brake! The pressure will build and push out the remaining air in the lines as you add the brake fluid.
Do not overfill the cylinder; stop at the maximum fill line.
Once the master cylinder is full, push the parking brake down and wait a few minutes. Be sure to replace all the fluid you removed. Example: If you removed two quarts, you need to replace two quarts.
Don’t forget to check for leaks by placing a small amount of brake fluid on the connecting line. After it sits for 3-4 minutes, you can wipe it off and check for any leaks. If you are leak-free, you can tighten up the connection.
Step 7: Tighten & Resecure Bleeders Bolts
While your helper continues to hold the brake pedal down, tighten the bleeder bolts with a wrench. Check for any air bubbles; you want the brake line free of air.
Then use clamps (use the ones you removed unless they need replacing). Finally, secure the brake line in place.
Step 8: Repeating Steps for Each Wheel
One tire down…three to go. Repeat steps 1-7 on each tire.
Any air in the other three lines can cause problems later, resulting in accidents and injury on the road.
Step 9: Filling the Reservoir with Brake Fluid
Recheck all the brake lines a second time to ensure no leaks. Refill the reservoir and place your tires and rims back onto the car.
Step 10: Test Drive
Take the car for a test drive. Upon returning, check all the wheel cylinder’s fluid levels to ensure no fluid loss. If you should find air in the system, rebleed the lines.



Leave a Comment